Welcome to today’s December adventure, where I will write about the process of our latest game, Devils on the Moon pinball.
One day, as we were scrolling through the Playdate Squad Discord server, Lukas Wolski the dev behind the excellent game Owlet’s Embrace posted the following picture.

Some time ago I wrote my own sprite and primitive blitting routines without using the SDK. I went for the same bitmap format like the SDK: First half of the bitmap buffer black/white pixel data, second half of the buffer transparent/opaque pixel data.
I wondered what would happen if I rewrote my code and texture format to use an interlaced layout, where 32 bits of black/white and 32 bits of transparent/opaque are alternating. You need to read and write both of them for basically all graphics routines anyway. The performance difference depends probably on the size of the bitmaps used (-> distance between b/w and transparent regions in a bitmap).
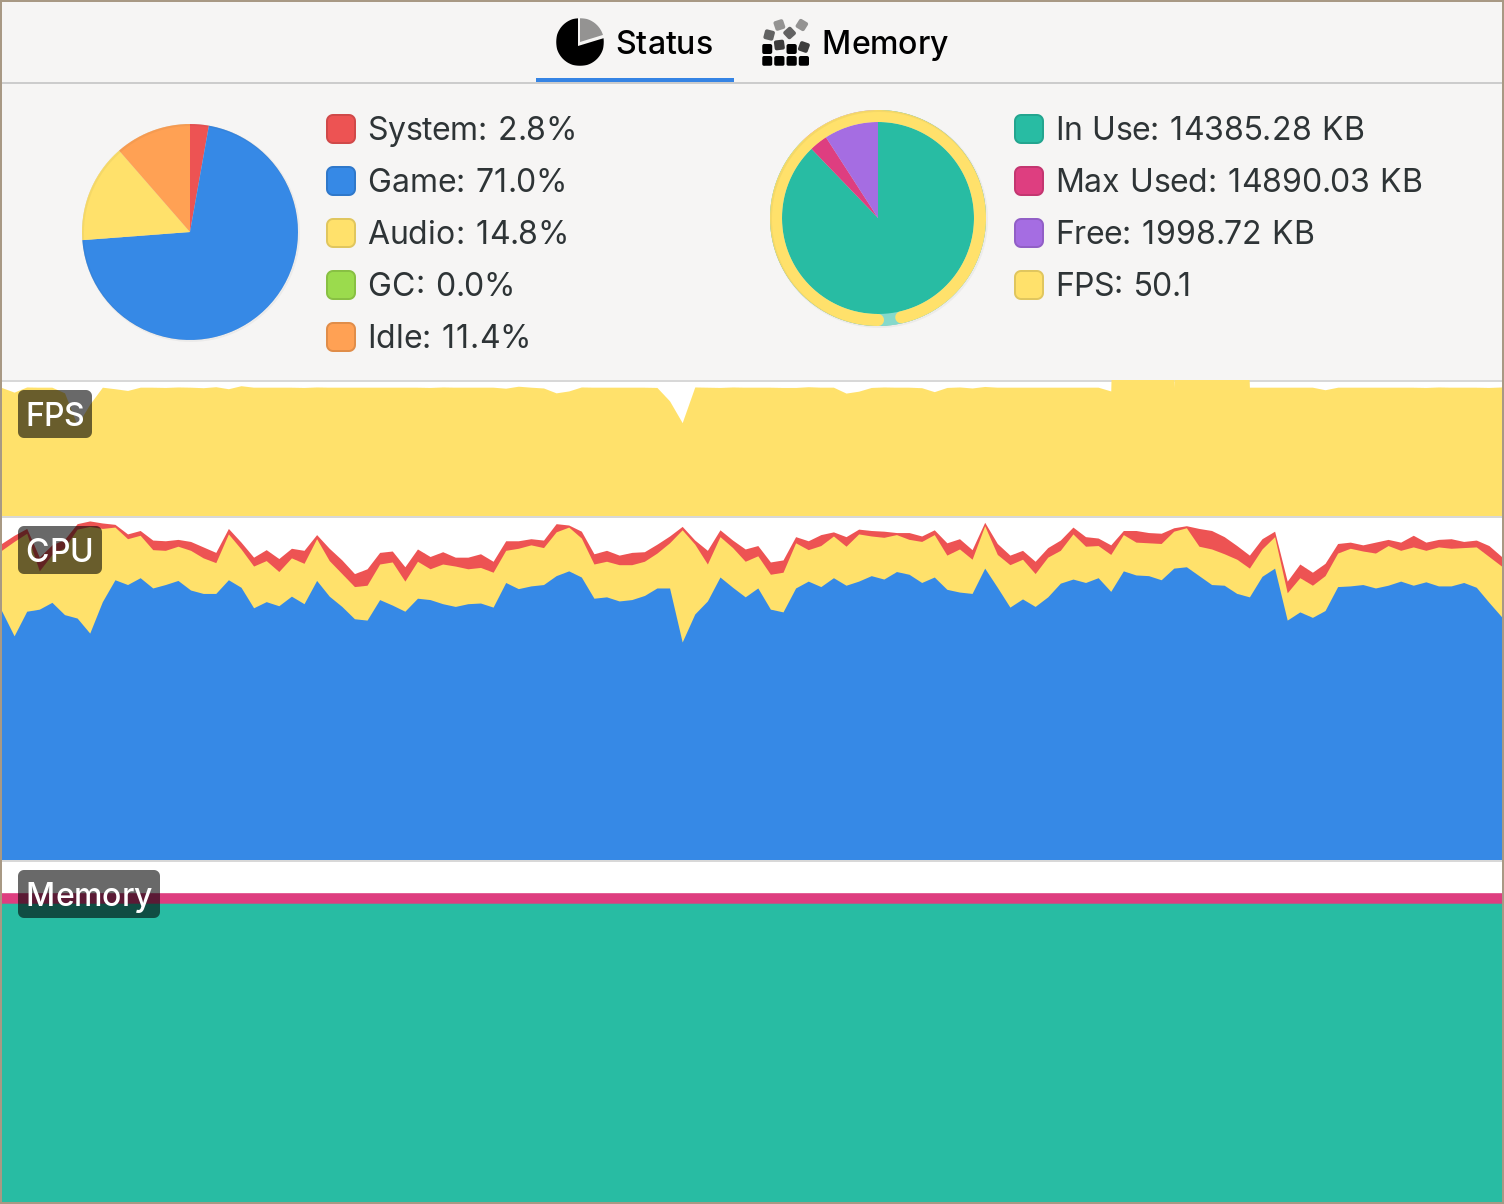
The very same game scene in my own game went from 35 FPS to 50 FPS. And it all came down to cache misses, stalling the CPU. I use some very big textures here and there btw.
This sounded promising! When we were working on Pullfrog I didn't know a lot about how to measure performance bottlenecks, but even I knew that drawing things on the screen was expensive. If we could get a speed bump by doing our own custom drawing routines, that sounded like a big win!
I can't say I fully understood what Lukas was talking about or why it mattered, but I have heard before that cache misses were important for performance.
 From Game Engine Architecture by Jason Gregory
Ok good. What is interlacing again? You probably have experienced this on the web.
Sometimes a website image will show row by row of pixels while loading. But other times it would wait until the whole image is loaded. When the image is not interlaced, the browser needs the whole image information to be able to render it. This is because the information about the colors of the pixels and, the transparency is separated. So to show a single pixel, the browser needs to load all the color information and then load all the transparency information.
When the image is interlaced, meaning all the information to render a row of pixels is close together, the browser can render the pixel as soon as it loads that single pixel information.
Ok now that I got that. First I needed to figure out how to convert our .png images to something interlaced that I could then read on the Playdate and blit it to the screen. My first attempt was to convert them to the CHR format I knew my friend Devine was using it for his Nasu sprite sheet editor
I wrote a custom Aseprite exporter for ICN and CHR and BOOM; we have textures in the screen. This was my first time reading/writing a binary format, so it felt like a massive win.

Now this didn't assure me that it would be faster to draw than the Playdate's PDI format; not only that, but the restriction of having everything in tiles was something that made sense for the Famicom but not for our game.
With this new knowledge, I started reading Lukas’ code. He shared it on the Playdate Squad Discord server and had his game code on GitHub. I didn't understand the blipping code yet, but thanks to his previous messages in the Discord, I was able to replicate the image format. Once again, I wrote another small Aseprite script and tried it with this code; it worked!

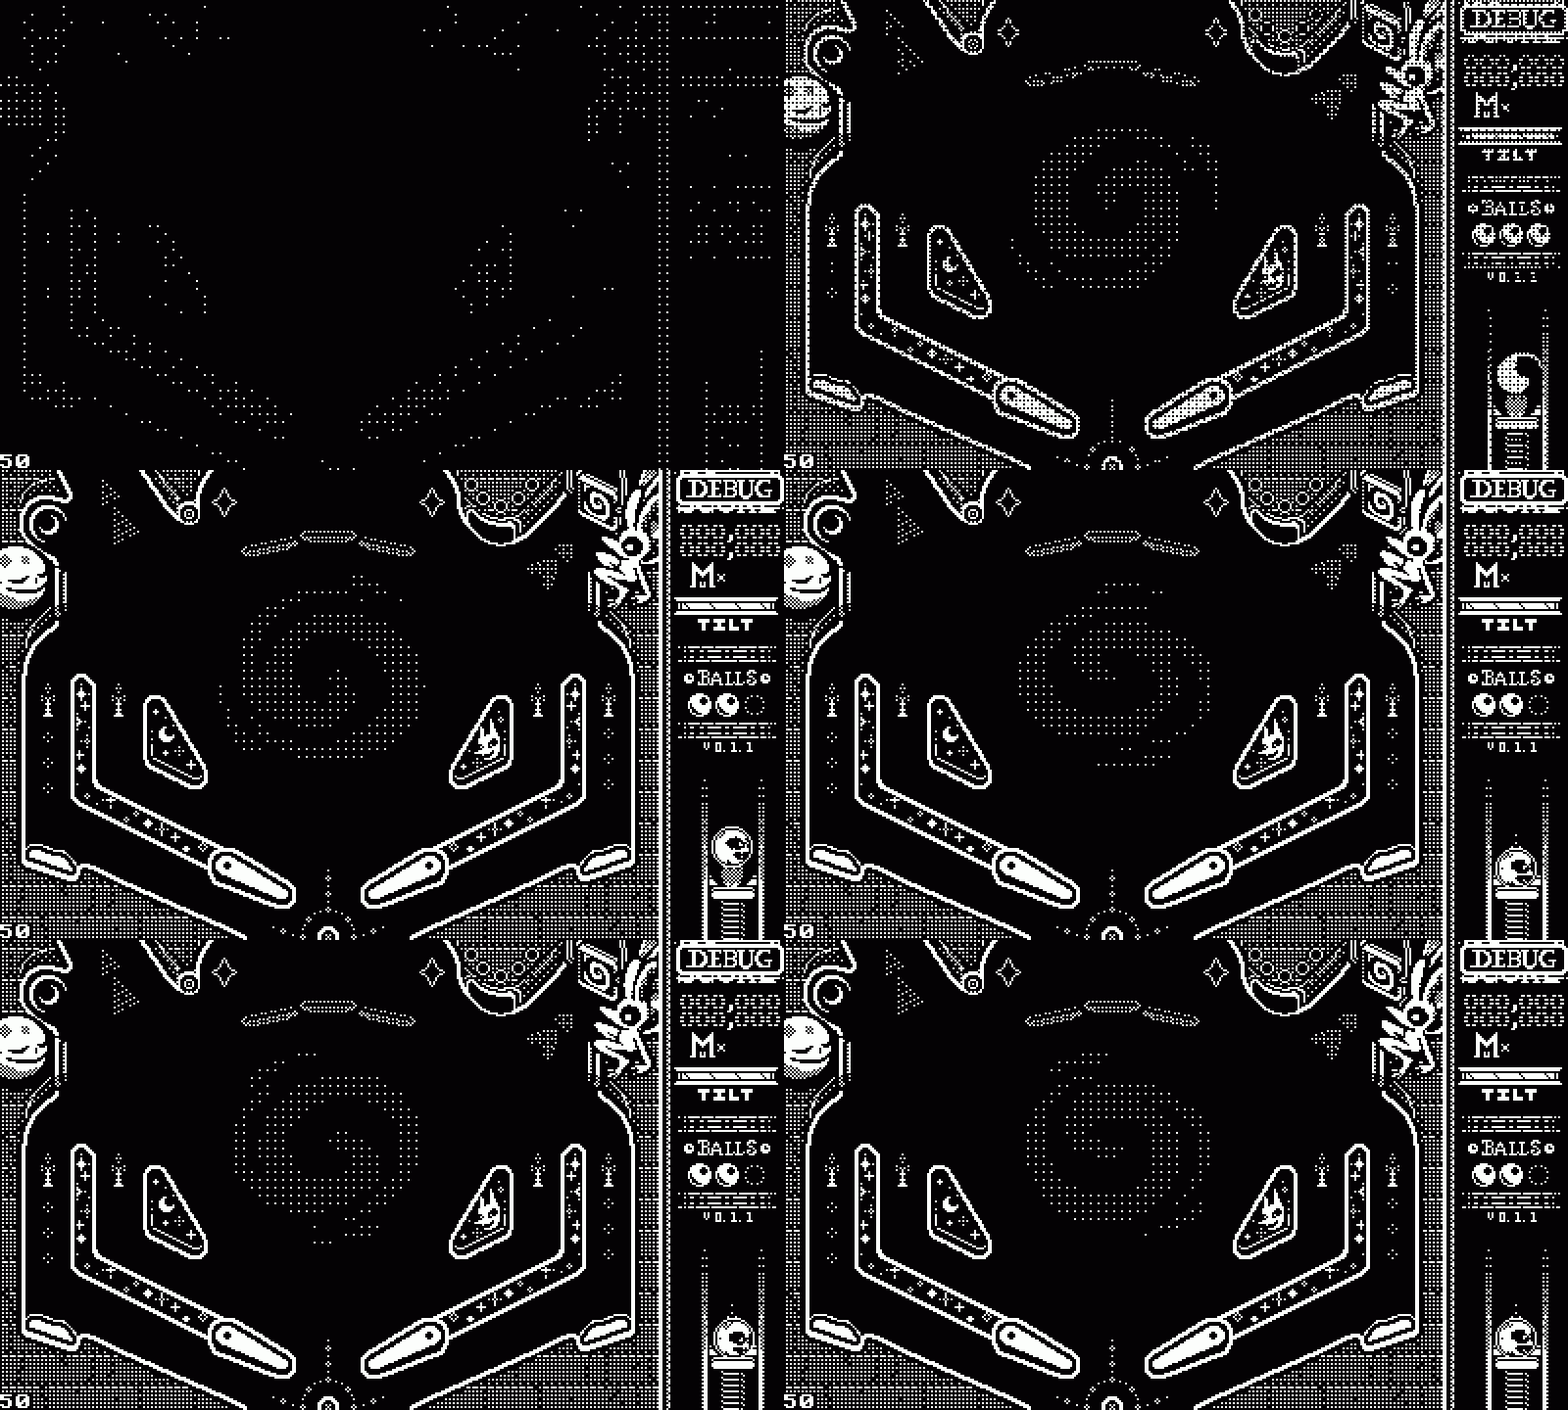
Kind of...
A couple of tries later, and it worked!

We now had physics and a way to draw textures on the screen; we felt over the devil’s on the moon pinball.
At this point, Jp had plenty of time to plan the pinball table design and had a bunch of art ready to implement.

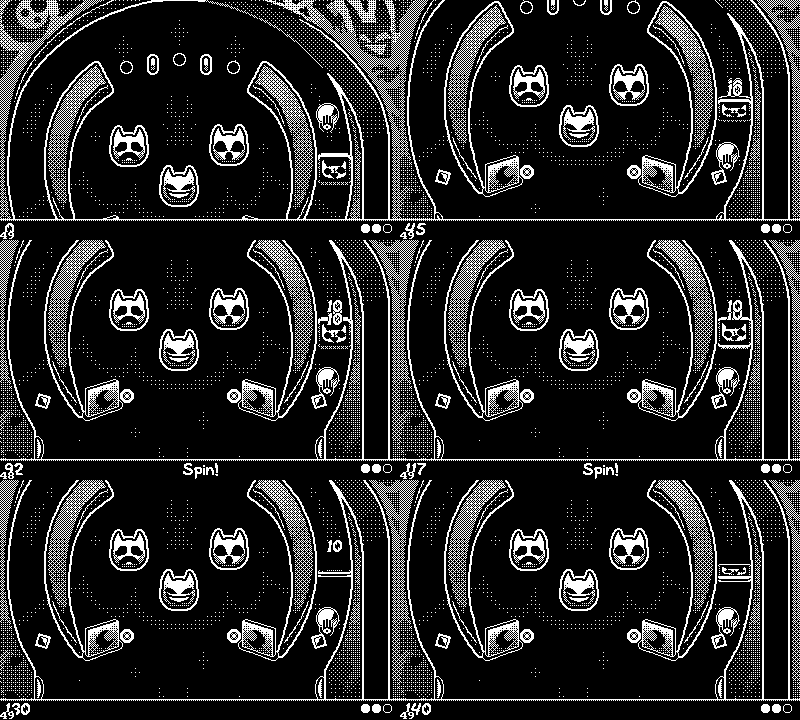
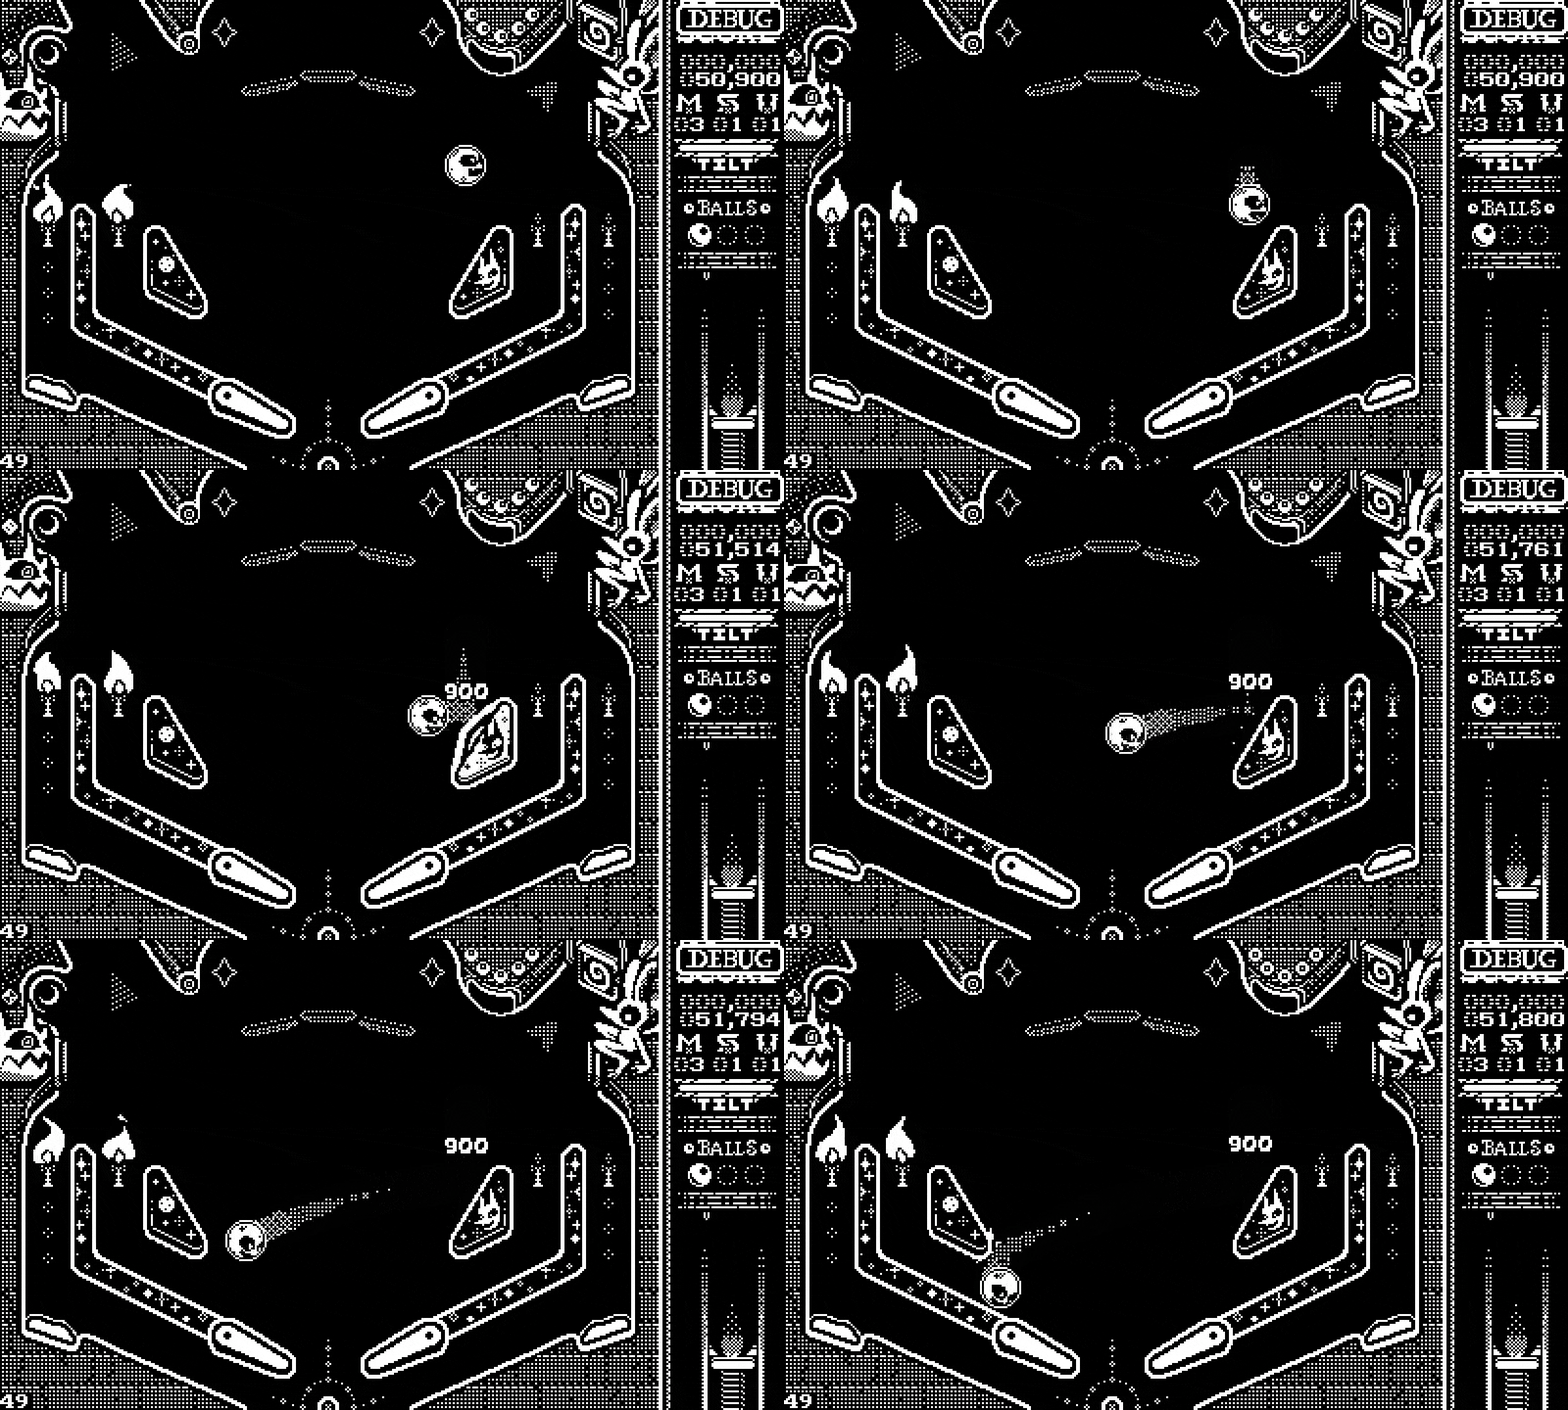
We added a bunch of polygons and tried the game, but when we started to see the frame rate drop, I knew what I needed to do.
See you in the next adventure, Part 04: The spatial partitioning.




Comments