Welcome back to this December adventure, where I will write about the process of making our latest game, Devils on the Moon pinball.
When following the Pikuma 2D Physics course, one thing I did quite fast was making a simple polygon editor. I quickly got tired of inputting every vertex by hand.

This presented a problem: how are we going to author the pinball table for our game? Not only that, but good pinball games have a lot of curves. Am I going to need a way to create Bézier curves? How do I convert Bézier curves to something useful? In my case, to polygon colliders? Should I start working on a custom level editor?
I briefly tried writing an Aseprite extension to generate the collision masks but failed. It was fun though.

The main thing we wanted to know was if we could use the same approach from the physics engine for the Playdate game. First I had to translate from C++ to plain C and from SDL to the Playdate. Second, I wanted to put a lot of polygons on the screen, a couple of balls, and see how the frame rate behaved.
As you will see in future posts, I don’t need a lot of reasons to start making a new tool, but everything was still up in the air; if performance wasn’t good enough, I would need to go back to the drawing board and find a different way to define the level.
So I started searching for a UI to make polygons. I wanted something simple that would let me define some polygons and ideally set different stats on the polygons to test the physics.
In my search, I found the Code & Web Physics Editor. It ran on macOS and Linux; it had a simple UI and allowed me to write a plugin to change the export file to something that fitted my needs. I didn’t have a good way of defining custom entities that weren’t physics-related, but it was good enough to start.

One intermediately obvious benefit of the Code & Web editor was that it took care of subdividing the polygons to make them concave automatically.
I hacked around a custom exporter that would generate a .h file with an array of polygons and started working from there.
// map.h

struct body TABLE_BODIES[43] = {
    {
        /* ID=poly0-0 */
        .p = {0.0, 0.0},
        .restitution = 0.60f,
        .friction = 1.00f,
        .mass = 0.0f,
        .inertia = 0.0f,
        .mass_inv = 0.0f,
        .inertia_inv = 0.0f,
        .shape.shape_type = COL_TYPE_POLY,
        .shape.poly = {
            .count=6,
            .verts={{44, 105},{39, 109},{39, 162},{45, 171},{50, 160},{50, 109}}
        }
},
...
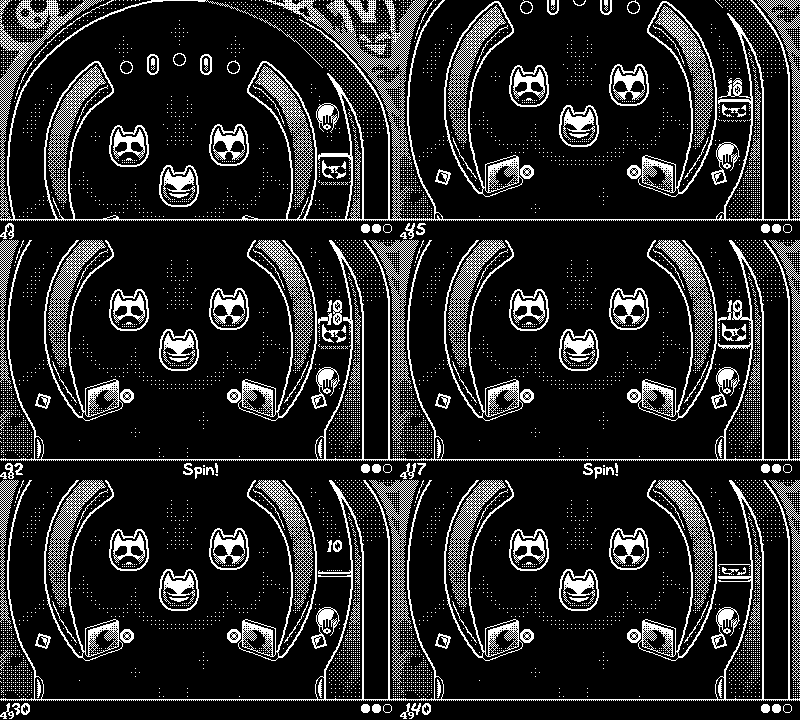
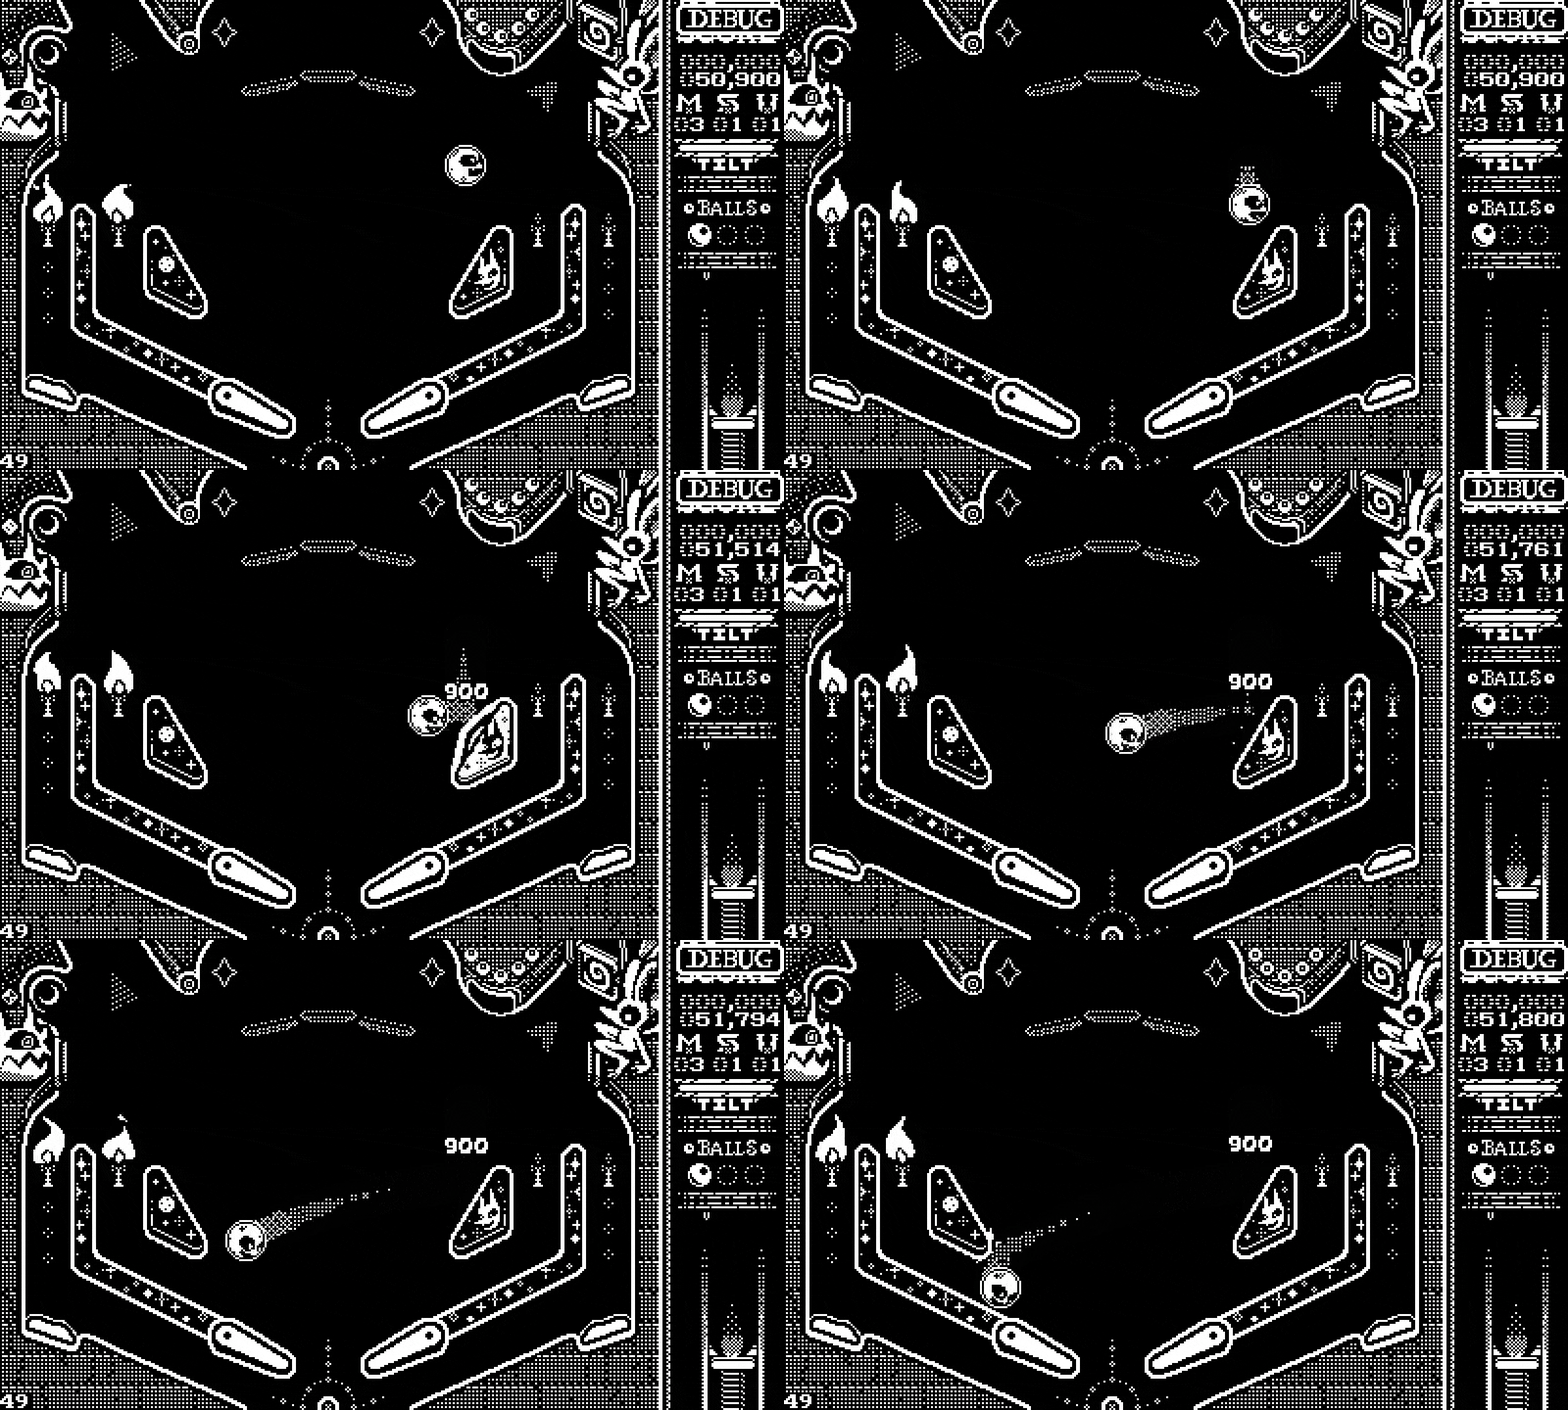
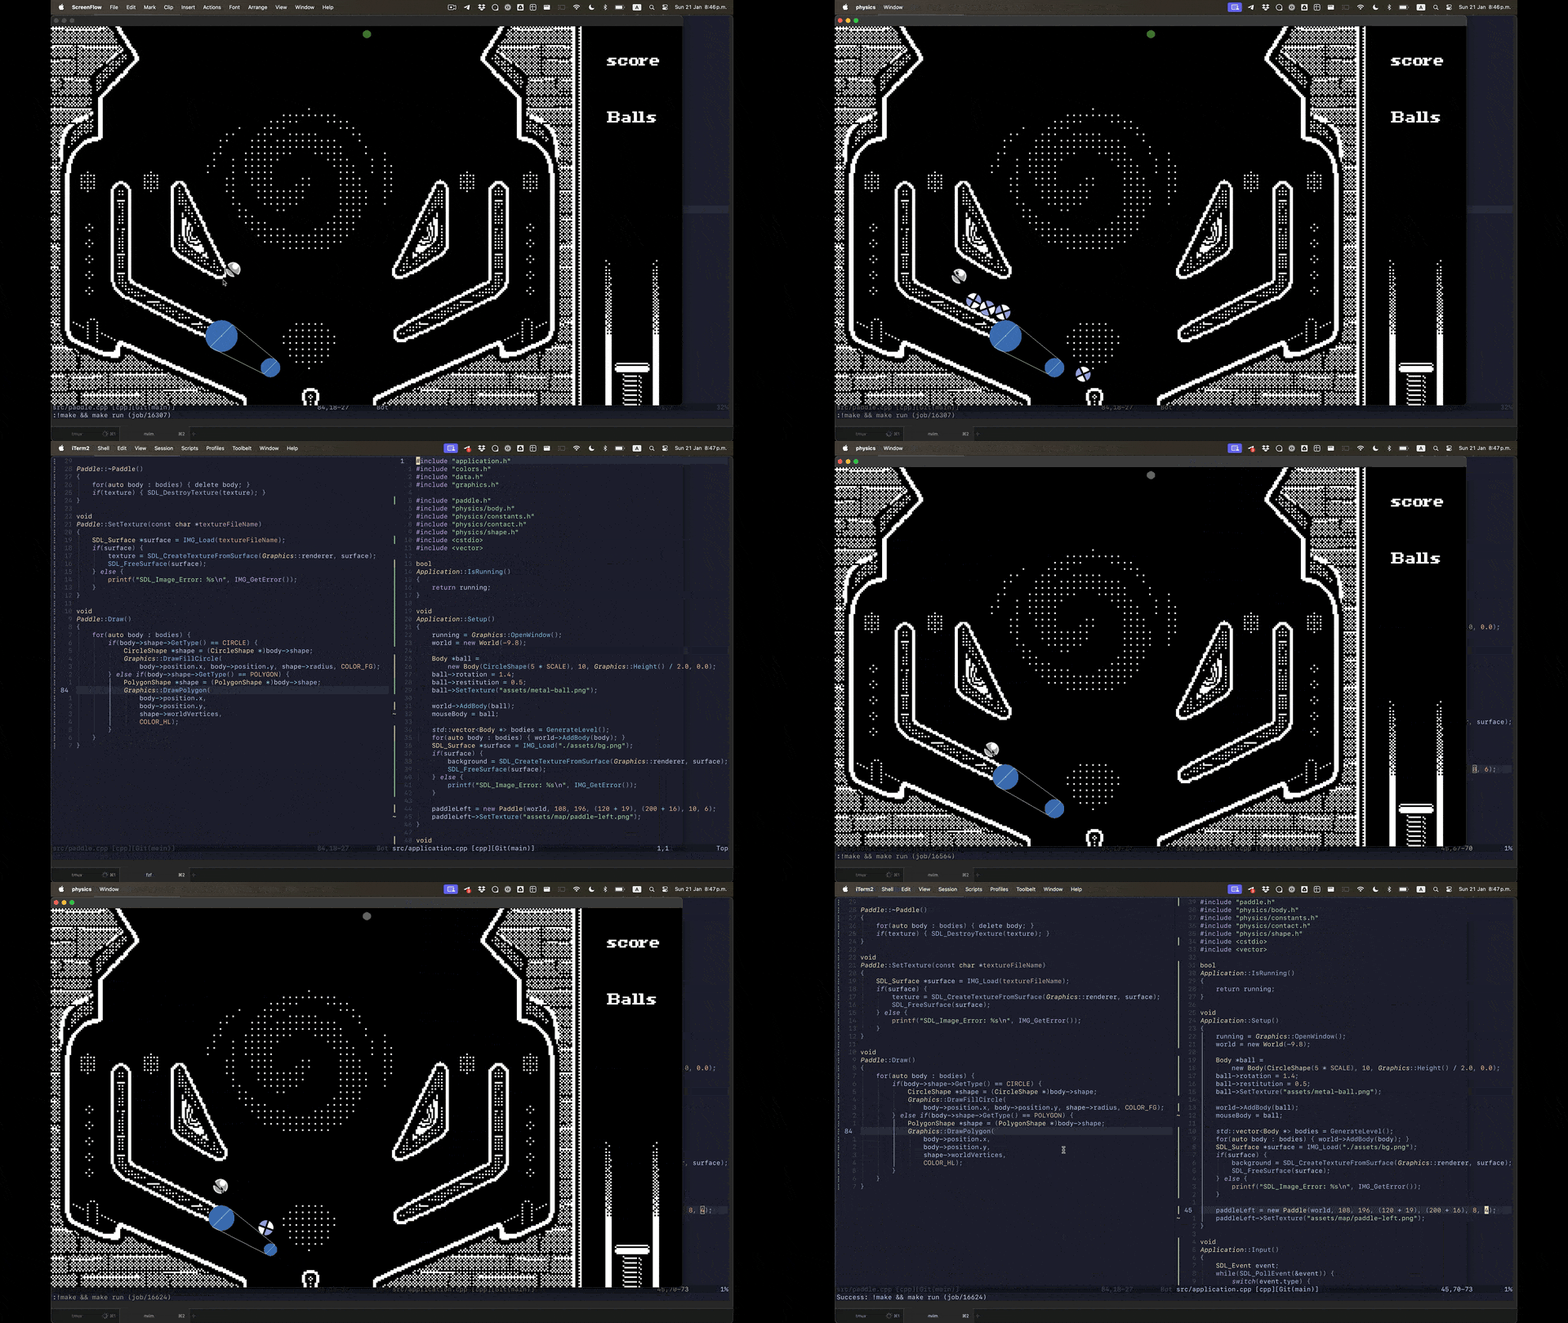
Then came the porting process to the Playdate, we were super excited the first time we saw the ball moving around the screen and colliding with the polygons. We knew at that point that we were actually going to be able to make it. Suddenly making a janky pinball game similar to early game boy pinball games wasn’t enough; we knew we could do better.

While I was playing around with the physics system, Jp finally had some tools to start designing; he already had some ideas for the design of the table. The Code & Web editor got us really far. It allowed us to focus on the overall design of the table and making sure the physics were right before moving on to the next steps of the game.

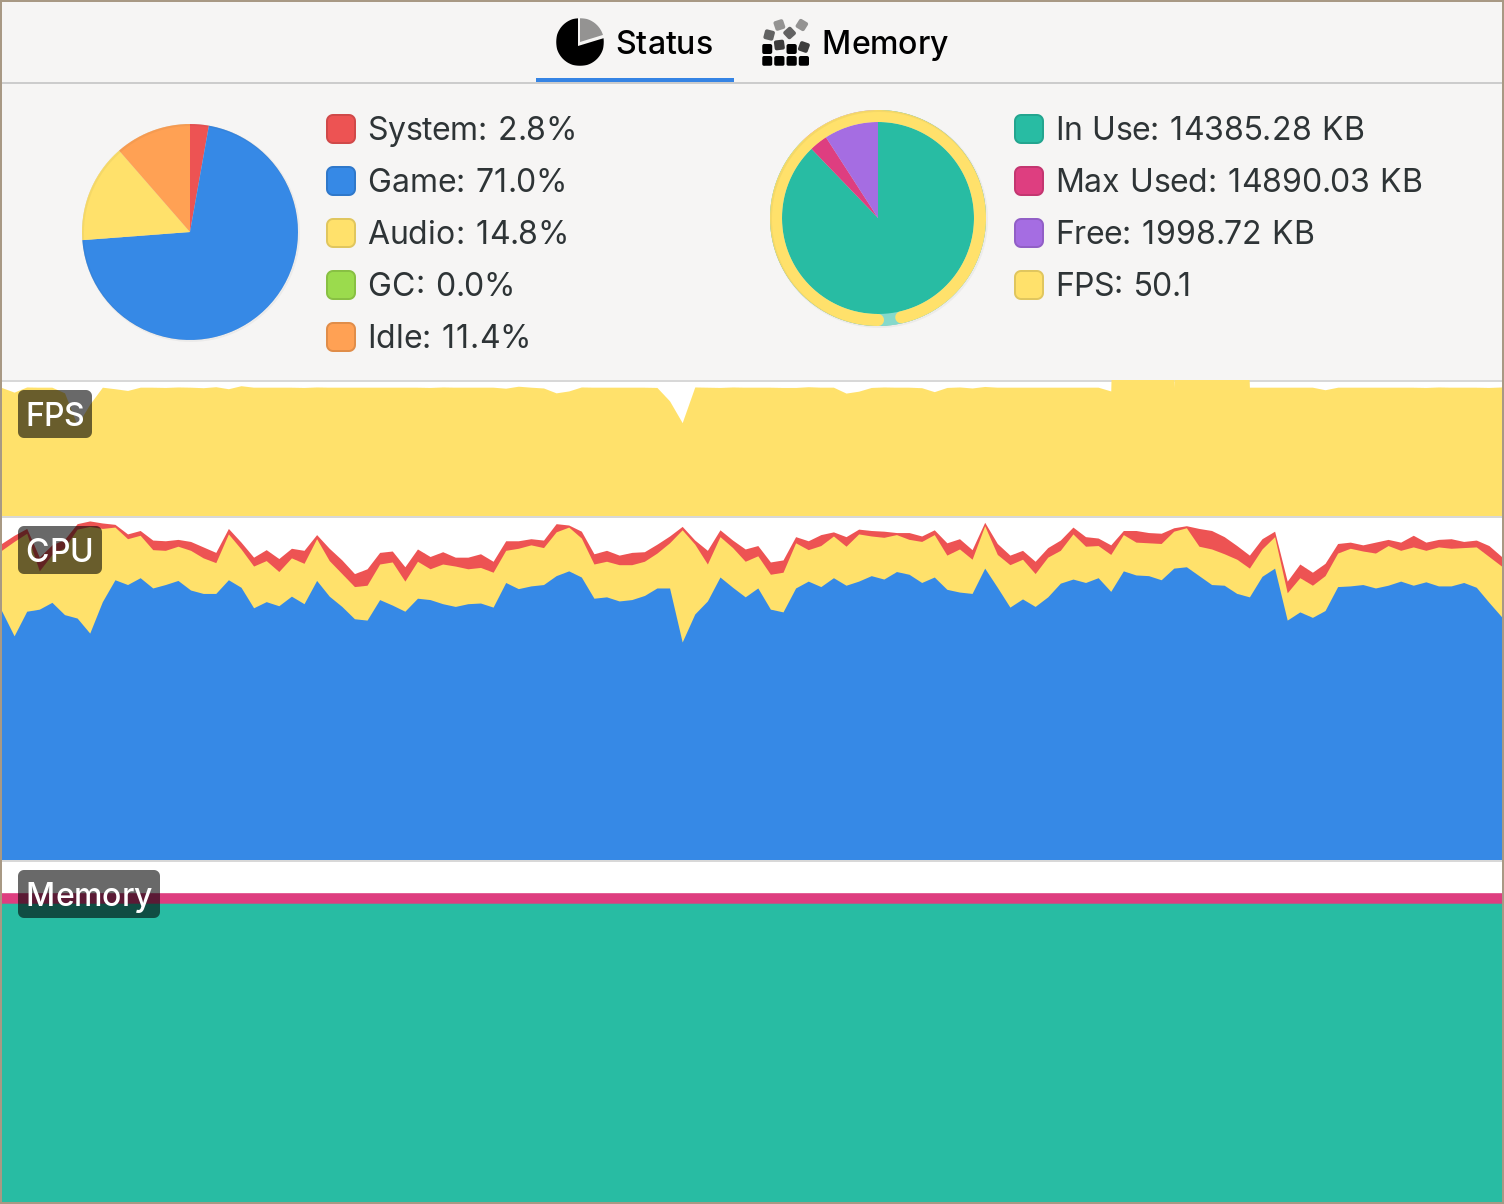
I wrote a really basic camera system, that followed the main ball, and as Jp added more and more polygons, the game kept running at steady 50FPS.
There were a lot of things left to do, but the scariest part was done, or at least done enough. In retrospect, I really like that we went with the Code & Web editor first; eventually we migrated to Tiled, but only after we took the Code & Web editor to its very limits.

Now we just needed to find a way to draw textures on the screen, and there was a message on the Playdate Squad discord server that excited us a ton.
See you in the next adventure, Part 04: The image format.




Comments